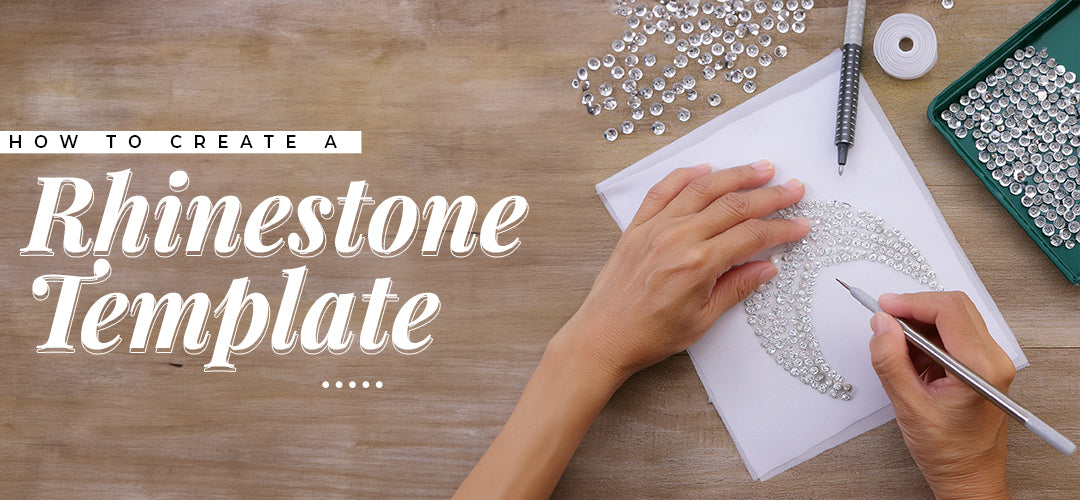
If you’re a DIY enthusiast who wants to play around with different design ideas and layouts to create your own rhinestone templates instead of using those pre-made ones, then congratulations. You’ve landed at the right place.
In this blog, we are going to share with you the step-by-step process of creating a rhinestone template using the handmade method.
So, without any further ado, let’s begin.
Step 1: Gather Your Supplies

Before you start working on your masterpiece, make sure that your rhinestone kit has all the necessary tools that you need while developing your rhinestone template.
Your rhinestone kit should include everything from a clear and sturdy base, trays, drawing tools, rhinestones, cutting and grabbing tools, adhesives, tweezers, wax pencils, and transfer paper, to masking tape.
This will make the entire process organized, efficient, and hassle-free.
Step 2: Sketch Your Design
If you’re a newbie or this is your first time creating a rhinestone template, you can begin with some basic shapes like flowers, hearts, or stars. Or if you want to re-create an existing design, you can take a print-out to use it as a guide.
Just make sure to keep the design clear and simple.
Note: If you want to trace a pre-made design, you can use masking tape to secure it onto the surface for a perfect rhinestone template transfer.
Or you can transfer the design onto Rhinestone Flock which works well with hot fix rhinestones. It has a self-adhesive backing which is better to cut and reuse.
Step 3: Mark Placement Points

This is one of the most important steps of the process that you need to pay special attention to, because the success of your rhinestone template depends on it.
So, take your time to mark the placement points for your rhinestones. Remember to consider the size and spacing of the selected rhinestones for a balanced and visually appealing result.
Note: If you are using a rhinestone flock, you don’t necessarily need to mark the points for rhinestone placement.
The rhinestone flock works as a stencil and automatically creates the negative space for rhinestone placement. This means that if you are putting hot fix stones on a garment, and you expect to have the dead space, or negative space, it is an effective tool. If you are planning to do a full design in all stones, the flock is not a logical option.
Step 4: Cut Out The Template
Once you have marked the spots for rhinestone placement, carefully cut out the template, using scissors or a craft knife. Take your time to make clear and clean cuts.
Remember, this step of the rhinestone template requires a good amount of patience and precision to get the best results.
Note: If you are using a rhinestone flock, make sure to carefully cut away the excess flock material. You can use a weeding tool to remove unwanted pieces to ensure clean lines and cuts.
Step 5: Place The Rhinestones
Next, with the help of tweezers, put your selected rhinestones on the template and press them down to make sure they don’t fall off during the final application process.
Once all the rhinestones have been placed, allow it some time to set.
Step 6: Test It Out

Before the final application, test out the rhinestone template on the surface of the item you will be applying it on.
Place the template on the surface of the item to get a feel for the final look of your rhinestone template. Doing this helps to make minor last-minute adjustments that you otherwise won’t be able to make in the finished product.
Step 7: Apply It to Your Desired Item
Once you have tested it out, it’s time to put your rhinestone template on your selected item.
To apply it, carefully peel away the backing of the rhinestone flock and place it on the surface of your project. Gently press down on the rhinestones to make sure they stick well to the surface.
Once done, allow it some time to set.
And with that final step, you will have in your hands a stunning project decorated with your own handmade rhinestone template.
Final Thoughts
Now that you are equipped with the knowledge of how to create a rhinestone template for garments by hand, you can use this process to explore different designs and layouts.
Using the techniques mentioned above, you can create rhinestone templates for all kinds of projects, whether it's home decor, accessories, or clothing.
The only limit is your imagination.
Until next time.

